
15 Things You Could Only Get Fixed At The Local TV Repair Shop
Remember when the local TV repair shop was basically the ER for your living room? Back before our “just toss it” culture took over, these neighborhood tech wizards could resurrect your beloved Zenith like electronic surgeons with soldering irons.
If your TV went fuzzy or made that mysterious pop, you didn’t panic—you grabbed your dad, your dignity, and lugged that 80-pound beast down to Main Street. I still remember the emotional rollercoaster: the hopeful optimism that it was “just a fuse,” crushed by the dread that the repair bill would wipe out my allowance until retirement.
The repair guy always looked like he moonlighted as a mad scientist, surrounded by glowing tubes, tiny screwdrivers, and the smell of warm dust. These shops were community hubs, diagnostic clinics, and temples of static magic. Let’s rewind to a time when TVs were fixable, repairmen were heroes, and HDMI cables didn’t exist to ruin lives.
1. Vacuum Tube Replacements
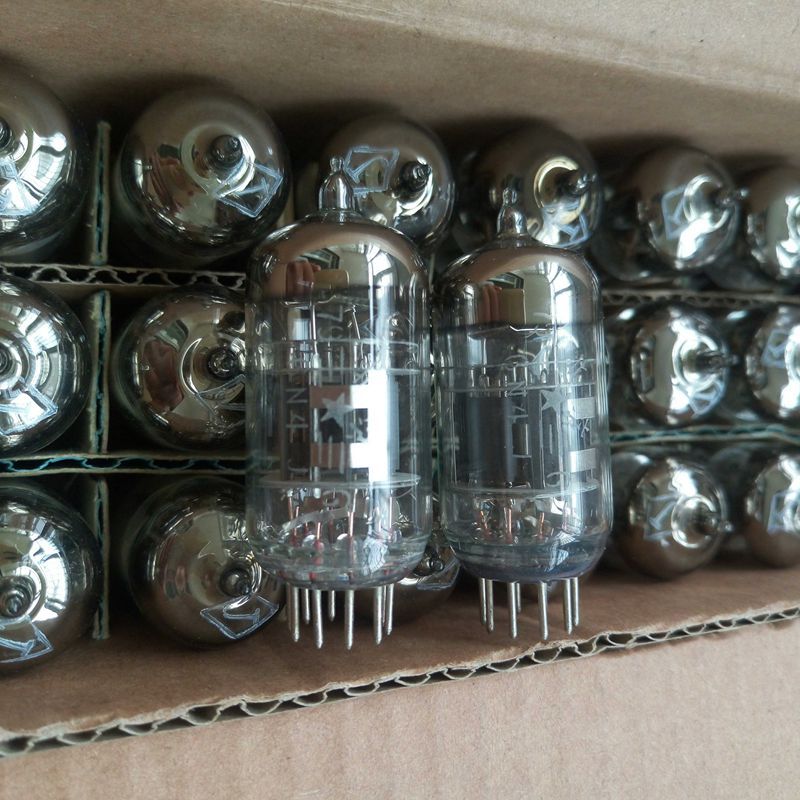
Nothing screamed “emergency” in our house like a blown vacuum tube. These glowing glass hearts powered everything inside those massive wooden console TVs of yesteryear. My grandfather taught me to identify the culprit by looking for the one that wasn’t lighting up.
Local repair technicians kept hundreds of these finicky components organized in special drawers, each labeled with cryptic codes like 6L6 or 12AX7. They’d test your tubes on specialized equipment that looked like it belonged in a mad scientist’s lab.
The satisfying moment when they’d push in a fresh tube and your picture would spring back to life was pure magic. Some repair shops even offered tube-testing stations where do-it-yourselfers could diagnose their own problems!
2. Vertical Hold Adjustments
“Stop that rolling!” Mom would yell at the TV, as if it could hear her complaints. The picture would scroll endlessly upward like credits after a movie, making everyone dizzy during The Brady Bunch. This vertical hold nightmare plagued countless households before digital TVs arrived.
Fixing this required the steady hand of a repair shop technician with specialized equipment. They’d crack open the set, locate the vertical oscillator circuit, and carefully adjust tiny potentiometers with a screwdriver that looked like a jeweler’s tool.
I once watched Mr. Jenkins at Central TV Repair perform this delicate operation. His fingers moved with surgical precision while explaining how the synchronization worked. “It’s like conducting an orchestra,” he’d say, “getting all the electrons to dance in time.”
3. Flyback Transformer Repairs
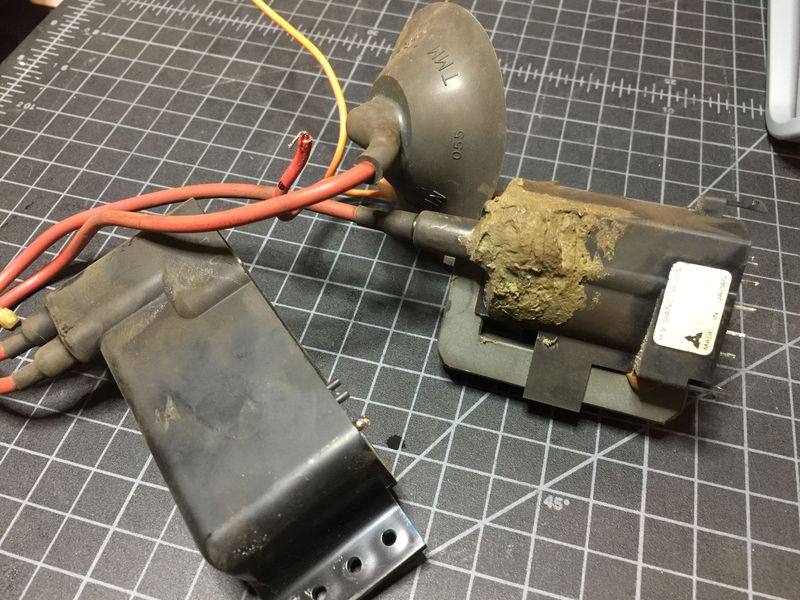
The high-pitched whine that signaled a failing flyback transformer still haunts my dreams. This crucial component generated the high voltage needed to create pictures on tube TVs, and when it went bad, your screen would go dark while making that awful noise.
Replacing a flyback transformer was practically sorcery. These components could hold dangerous charges even when unplugged, making them too risky for amateur repair. My uncle tried fixing one himself and got knocked across the room!
The repair shop guys treated these beasts with proper respect, using special discharge tools and insulated gloves. They’d carefully desolder the old transformer and install a new one, adjusting the focus and brightness settings afterward. The satisfaction of seeing your TV spring back to life was worth every penny.
4. Picture Tube Rejuvenation
Watching our family Magnavox slowly fade to a dim, ghostly image was like losing an old friend. Dad would tap the side of the set hoping for a miracle, but picture tubes simply wore out after years of use. Before you’d shell out for a costly replacement, the repair shop offered a fascinating alternative: tube rejuvenation.
The technician would wheel out what looked like a mad scientist’s contraption with dials, meters, and dangerous-looking cables. This magical device would zap the cathode inside your picture tube with controlled bursts of electricity, burning off the built-up oxide layer.
Watching your TV picture spring back to vibrant life after this electronic fountain of youth treatment felt like witnessing a resurrection. The fix wasn’t permanent—maybe buying you another year or two—but it saved many families from premature TV replacement.
5. Convergence Adjustments
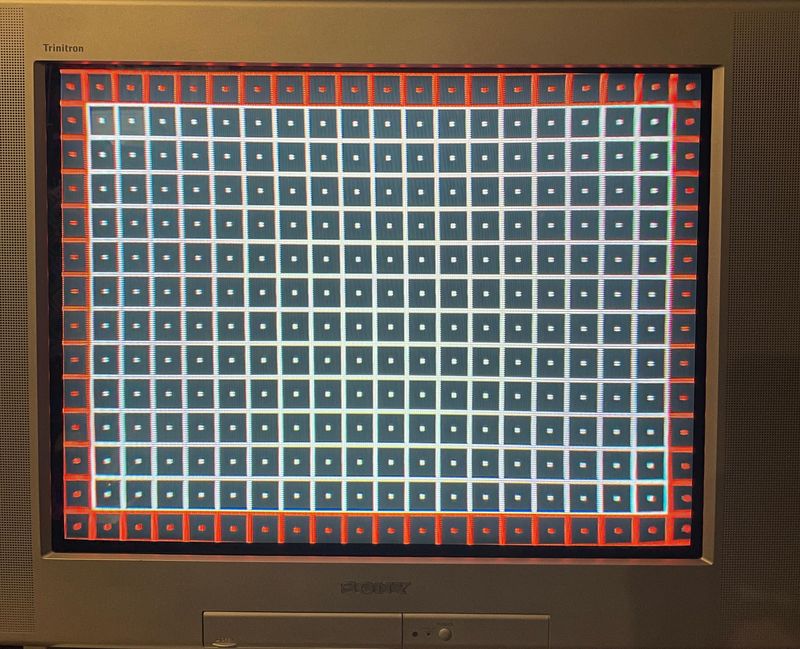
The rainbow-edged nightmare of poor convergence made watching TV painful. White text would have red, green, and blue shadows, like you were watching without your 3D glasses. My father would squint and declare, “Something’s off with the colors!” before loading our projection TV into the station wagon.
Fixing convergence required a master’s touch. The technician would remove the back panel to access a mystifying array of rings and magnets surrounding the picture tube neck. Using special plastic tools, they’d make microscopic adjustments while a test pattern displayed on screen.
I’d watch in awe as they patiently tweaked each setting, occasionally stepping back to assess their work. It could take hours of painstaking adjustments to get those three color beams perfectly aligned again. Modern TVs handle this electronically, but nothing matched the artistry of manual convergence repair.
6. Degaussing Services
Purple blotches spreading across our TV screen like an electronic bruise sent us rushing to Marty’s TV Repair on Main Street. This weird color distortion happened when something magnetic—like my sister’s science project—got too close to the set. The technical term was “magnetic interference,” but we just called it “that weird purple spot.”
Marty would bring out his degaussing coil, a mysterious ring-shaped device connected to a power cord. He’d wave this magical hoop in front of the screen in gradually widening circles, making the metal inside buzz and vibrate.
The rainbow swirls that danced across the screen during this process were hypnotic. We’d watch, mesmerized, as the colors would shift and swirl before finally settling back to normal. Some high-end TVs had built-in degaussing that made that distinctive “BONG” sound when turned on, but nothing beat watching a pro perform this electromagnetic exorcism.
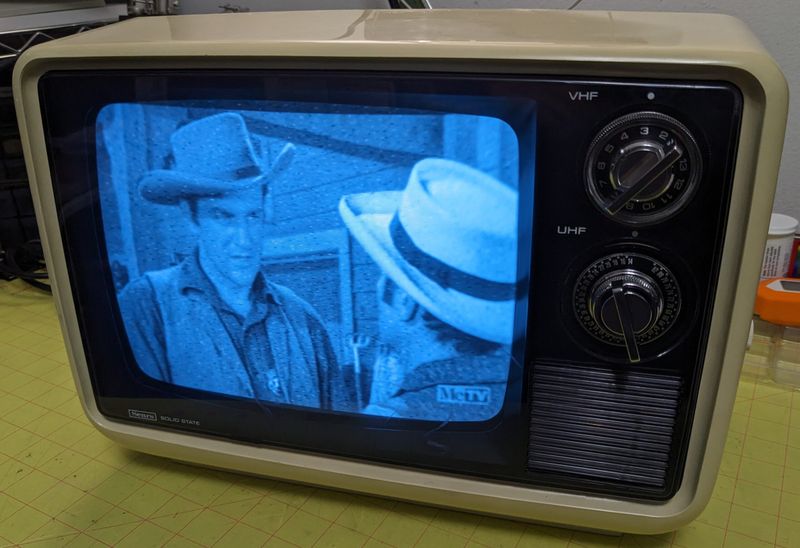
7. Tuner Cleaning and Repair
The dreaded channel-changing crackle and snowy reception meant only one thing: time to visit old Mr. Wilson at Wilson’s Electronics. Our TV’s tuner—that clicking dial that changed channels—was filled with dust and oxidation, making watching anything beyond channel 5 an exercise in squinting and imagination.
Mr. Wilson would extract the tuner assembly, a complex mechanical marvel of contacts and switches. He’d carefully disassemble it on a clean white cloth, using special contact cleaner and tiny brushes to remove years of accumulated grime.
I loved watching him work, meticulously cleaning each contact point before applying a special conductive lubricant. He’d reassemble everything with the precision of a watchmaker, occasionally testing the tuner’s operation on a special jig. When reinstalled, the channels would snap into crystal-clear focus, making you wonder how you’d tolerated the fuzzy pictures for so long.
8. Horizontal Output Transistor Replacement
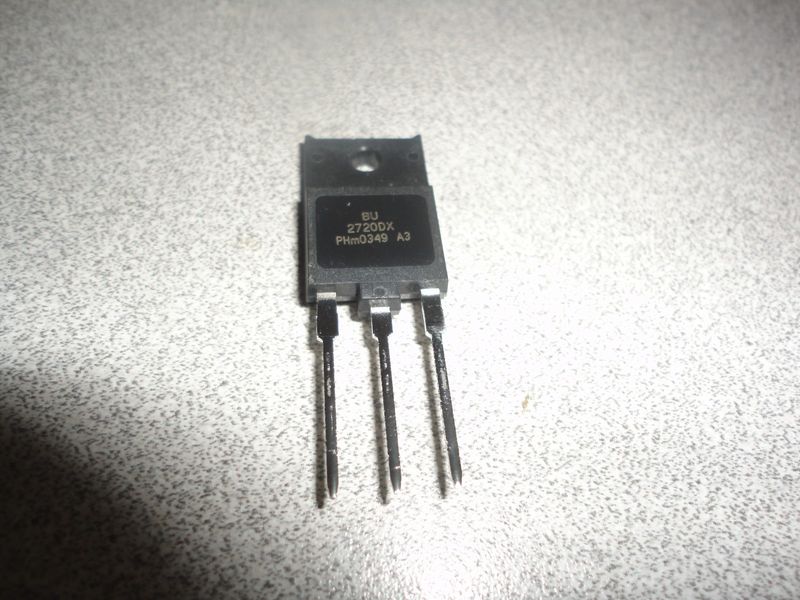
The sizzling pop followed by total darkness usually meant one thing: a blown horizontal output transistor. This crucial component was the most common failure point in older TVs, often going out with a dramatic final performance. My dad would sigh, knowing exactly what had happened before we even unplugged the set.
At the repair shop, technicians kept these finned metal components in stock, knowing how frequently they failed. They’d carefully discharge the high-voltage capacitors before soldering in the replacement, often upgrading to a more robust model.
The most satisfying part was learning why it failed. Our technician, Pete, would often find the culprit—a leaky capacitor or worn resistor—and fix that too, preventing future failures. “No point putting a new horse in a broken stable,” he’d say while checking the surrounding components. His thoroughness saved us from repeat visits and taught me the value of finding root causes.
9. Power Supply Rebuilding
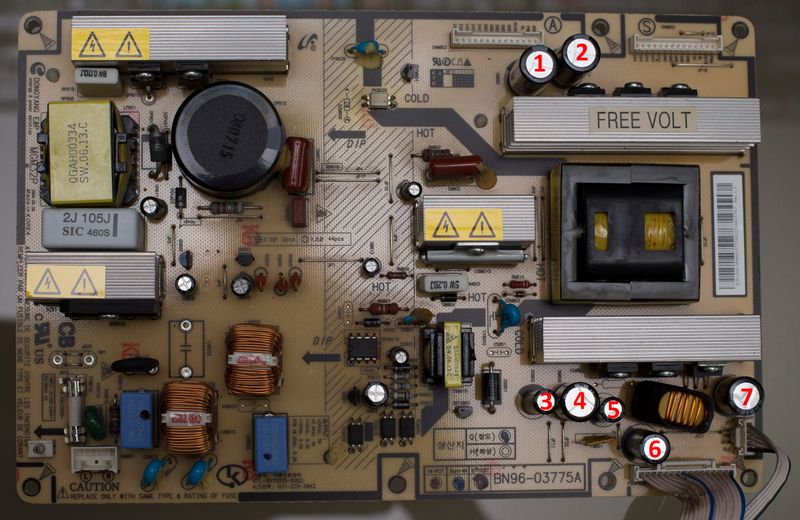
Bulging capacitors in our TV’s power supply meant one thing: a complete rebuild was in our future. These components would slowly fail over time, causing symptoms ranging from weird audio buzzing to complete power failure. The repair shop’s diagnostic fee was the best money we ever spent.
I still remember watching in fascination as Ms. Rodriguez at Rodriguez Electronics methodically desoldered each failed component. She’d carefully match replacements from her vast inventory of parts, often upgrading to higher-quality capacitors that would outlast the originals.
“These new Japanese caps will outlive us all,” she’d joke while soldering them in place. The smell of rosin core solder and the careful placement of each component was like watching an artist at work. When finished, she’d power up the TV gradually using a special “variac” transformer, testing voltages at various points to ensure everything was perfect before returning our restored television.
10. CRT Socket Replacement
The day our prized Sony Trinitron developed intermittent color loss, Dad knew exactly where to go. The problem? A worn-out CRT socket—that crucial connector between the picture tube and the rest of the TV’s circuitry. Years of heat cycles had made the connections brittle and unreliable.
At Eastside Electronics, technician Hank showed me how he’d carefully extract the old socket without damaging the delicate pins on the picture tube neck. “One bent pin and your TV becomes a very expensive boat anchor,” he’d warn while working.
The replacement part had to be exact—no substitutions allowed. Hank maintained relationships with parts suppliers across the country to source these specialized components. His meticulous work saved our family hundreds on a new TV. The repair came with a six-month guarantee, but it lasted years longer, a testament to craftsmanship you simply can’t find in today’s disposable electronics world.
11. Remote Control Resurrection

Finding our TV remote in pieces after my little brother’s “scientific exploration” experiment led us straight to Jimmy’s TV Repair. Beyond just changing batteries, these shops could completely rebuild these increasingly complex controllers that had become essential to modern viewing.
Jimmy would crack open the case, revealing a circuit board populated with tiny buttons, infrared LEDs, and microchips. He’d clean the carbon contacts with special solution, replace cracked circuit boards, and even reconstruct broken battery compartments using epoxy and spare parts.
The coolest service was reprogramming universal remotes. Jimmy kept a massive database of codes for every TV model imaginable. He’d patiently program and test each function, sometimes creating custom macros for complex home theater setups. “People think remotes are disposable,” he’d say, “but a properly maintained controller should last as long as your TV.” His repairs saved countless remotes from landfills.
12. Yoke Coil Adjustments
The trapezoidal picture on our family Zenith had my father muttering words I wasn’t supposed to repeat. Instead of the perfect rectangle we expected, our TV displayed images that were wider at the top than bottom—a problem with the deflection yoke that required professional intervention.
Mr. Abernathy at Abernathy’s TV Service treated this repair like an art form. He’d loosen the clamp holding the yoke—those copper coils wrapped around the neck of the picture tube—and make minute adjustments while watching test patterns on screen.
“It’s all about the magnetic field geometry,” he explained while rotating the yoke fractions of an inch. He’d secure it temporarily with wooden wedges, check the results, then make further adjustments. When perfect, he’d tighten everything down and apply a special adhesive to prevent future movement.
13. Sound Circuit Restoration
The day our TV started speaking in demonic whispers instead of normal dialogue, Mom declared it possessed. The actual culprit was failing audio circuits—a common problem in aging televisions that repair shops handled routinely.
At Parkway Electronics, technician Sarah methodically traced the audio path using an oscilloscope that displayed sound waves on a green screen. She’d inject test tones at different points, following the signal until finding where it distorted.
The culprits were usually dried-out electrolytic capacitors in the audio amplifier section. Sarah would carefully replace these barrel-shaped components, sometimes upgrading the entire audio section with improved parts. “Most manufacturers cut corners on the sound circuits,” she’d explain while working.
14. High-Voltage Cage Servicing
The terrifying crackling sounds and burnt smell coming from our TV sent us racing to unplug it. The high-voltage section—that mysterious cage with warning labels—had developed arcing problems. This was definitely not a DIY fix!
At Valley TV Repair, technician Mike treated the high-voltage cage with appropriate caution. “This section can hold enough charge to stop your heart,” he warned while using a special grounding tool to safely discharge the capacitors.
Inside the cage lurked the flyback transformer, focus controls, and high-voltage capacitors—all potential culprits. Mike meticulously cleaned carbon tracking paths where electricity had jumped between components, replaced damaged insulators, and applied special corona dope—a pink insulating material—to prevent future arcing.
15. Channel Programming and Calibration
Moving across town meant our TV suddenly received different channels than before, turning Saturday morning cartoons into a frustrating treasure hunt. Before remote-controlled auto-programming existed, this required a trip to the repair shop for a complete recalibration.
Watching Ray at Ray’s Electronics perform this procedure was like observing a combination locksmith and magician. He’d connect a signal generator to simulate broadcast frequencies, then carefully adjust each channel’s fine tuning while consulting a dog-eared frequency chart specific to our neighborhood.
For cable-ready TVs, he’d program each preset to the correct frequency using tiny screwdrivers and extraordinary patience. The most impressive part was his final quality check—rapidly clicking through all channels to verify perfect reception on each.